MILESTONE PROJECTS
PAPERCRAFT OBJECTS: FINAL REVISION
I was excited to see how something that I created on a laptop come into real life. I soon realized that this project was going to be a lot of work with a lot of hours spent on it. I didn't mind but as I was doing work, I realized that there is a lot of elements wrong with my template. when I first printed off my project, I realized that I needed to scale it up much larger. which also meant that I had to chop up certain pieces as they had to go on their own page because of their size.


3D Model of my Roomba
I decided to 3D model my Roomba after the documentary
I decided to 3D model my Roomba after the documentary
I placed the Roomba on my desk and slowly designed each face of my circular Slave robot.
Overall, this project made me appreciate the sleek design of the Roomba even though it can frustrate me sometimes being stuck in a corner in my house. I slowly worked on each piece of this by working on the top and then the bottom I had trouble learning how to use the viewpoint which causes me to have vertical.
iRobot
Roomba 800
the top


the side  the bottom


mash-up
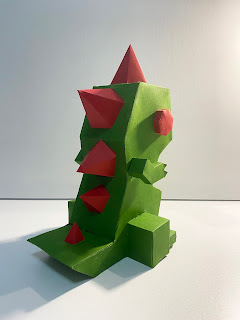
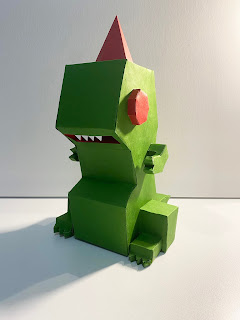
For this mash-up, I imported my previous Frog Clicker model from Meshmixer and began to work on it within Rhino 6. I was very frustrated working in rhino at the beginning since I am more comfortable working in 2 dimensions like in Illustrator. So, there were a lot of growing pains working with 3D planes. Another problem I had was having to go back into Meshmixer to divide up certain pieces of the figure like the eyes.
On the other hand, it was so much fun being able to render into “photo-realistic” views. The materials alone made quite a drastic impact on the final product. I added a plastic material to the frog and realized that the plastic made the frog look slimy. For the fly, I added a glass material to the eyes and wings.
I decided to only add one spotlight into my rendering to make the image look like it was outside so there would be only one shadow. I also had a gradient of green to brown to illustrate a grassy dirt ground


Comments
Post a Comment